Are you getting ready for your new braces? Once you’ve had your appointment and consultation, it’s time to start straightening your teeth, but how are braces put on in the first place? How long does it take to get braces?
The idea of an orthodontist attaching braces to your teeth might be scary to some people, but you shouldn’t worry. The process is easy and fairly quick. It will be over before you know it.
We’re here to explain the process of attaching different types of braces to your teeth. Keep reading to learn more so you’re prepared for your appointment!
A Clean Surface
You should always arrive at your orthodontist appointments with clean teeth. This makes the overall experience more pleasant for everyone involved, and it shows off your great dental hygiene.
With that in mind, the orthodontist (or assistant) will also clean your teeth. They may use a special paste or polisher.
After this, they need to dry your teeth. This might be uncomfortable for you as your mouth will feel dry for the duration of the braces installation.
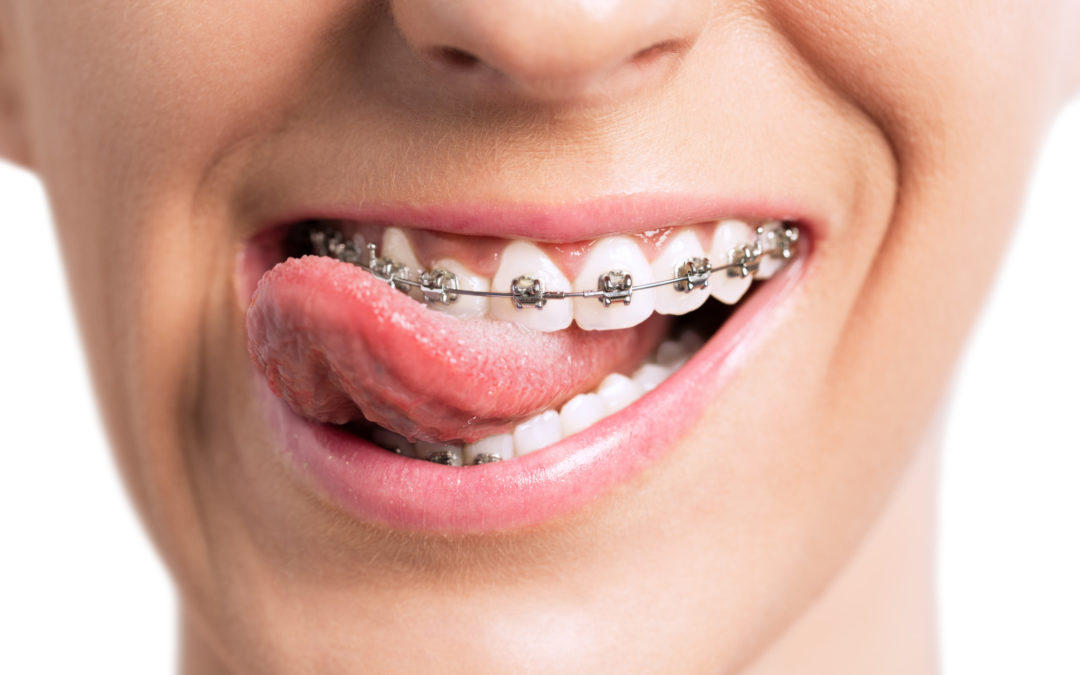
Time for Brackets
After your teeth are clean and dry, the orthodontist or assistant can start attaching your brackets. They’ll use a small amount of sticky material (often referred to as glue or cement) in the center of each tooth and place the bracket down until it sticks.
The orthodontist should shine a special light over the tooth to set the glue and harden the bracket into place. While the brackets are metal, the glue should be clear or tooth-colored, so you won’t be able to see it.
With standard braces, you’ll need brackets around your entire mouth. Keep in mind that this is going to be a lengthy process and you should prepare for some discomfort while your mouth is held open.
Anchoring the Braces
While it may appear as though the braces are firmly affixed to the teeth, your orthodontist also wants to anchor them.
They’ll pick a metal band that’s the right size for your mouth and slide it over to your molars. Once they’ve determined the right size and placement, they’ll use some of the same glue that they used on the brackets and set it with the light.
After this, they’ll maneuver the band onto your tooth to find its final placement. They may make a few adjustments before picking the right spot, so make sure to let the orthodontist know if you’re in pain or extreme discomfort and need a break.
If you notice that your band is uncomfortable the orthodontist places it, let them know before they keep going. It won’t get less uncomfortable as time goes on, and they can adjust it.
Adding the Wires
This is where the wires come in. The wire wraps around each set of teeth (top and bottom) and it’s cut at the end so it doesn’t come into contact with your gums.
The orthodontist will attach the wire to each bracket with a rubber band. You can choose the color of the bands if you want, though many people prefer clear ones to make the braces slightly less visible.
After this, you’re done. Your dentist may make some adjustments to make sure that everything is tight and secure, but you’ll be sent on your way until it’s time for your next appointment.
What About Clear Aligners?
You might be wondering what happens when you decide to get clear aligners, like Invisalign, instead of standard traditional metal or ceramic braces. This process is easier, but it sometimes still requires extra steps depending on the severity of your case.
Sometimes your orthodontist may allow you to start your treatment on the same day as your consultation if you choose metal braces. That’s because the treatment is more straightforward and they make all of the adjustments to the wires.
With clear aligners, you’ll first have to get a scan or impression of your teeth. Your orthodontist sends the impression or scan to the aligner company so they can create a mock-up of your future smile that your orthodontist can make adjustments to.
This process takes several weeks.
What About Placing Attachments?
When you arrive at your next appointment to pick up your aligners, it’s likely that you’ll need attachments and/or buttons. The buttons are for holding rubberbands and the attachments help your teeth move.
Placing these attachments and buttons is similar to placing the brackets for standard braces. Like with standard braces, the orthodontist or assistant will clean and dry your teeth. They’ll add the special glue, set it, and place your buttons.
For the attachments themselves, they’ll use a thin version of your aligners and fill each “attachment” slot with a tooth-colored material. They’ll put your aligners on and set your entire mouth with the blue light. When they remove the aligners, the attachments will be stuck to your teeth.
If they need to replace an attachment, they will use your aligner to create a new one in the same way.
How Are Braces Put On? It’s Easy
If you’ve been worried and wondering “how are braces put on?”, you can relax. The orthodontists and assistants have helped plenty of patients with their braces, so they know how to make the process quick, painless, and efficient.
Most appointments take between one and two hours (less for clear aligners) and you’ll leave knowing that you’re well on your way to a straighter smile.
Is it time to make your appointment?
If you’re ready to get braces in Fort Pierce, we want to meet you! At Jacobus Orthodontics, we want to help all of our patients get smiles that they love. Contact us today to set up an appointment.